Caution, the dome has sharp edges. When working on it, cuts can easily occur.
Please watch your fingers and protect yourself with gloves and safety glasses!
Introduction
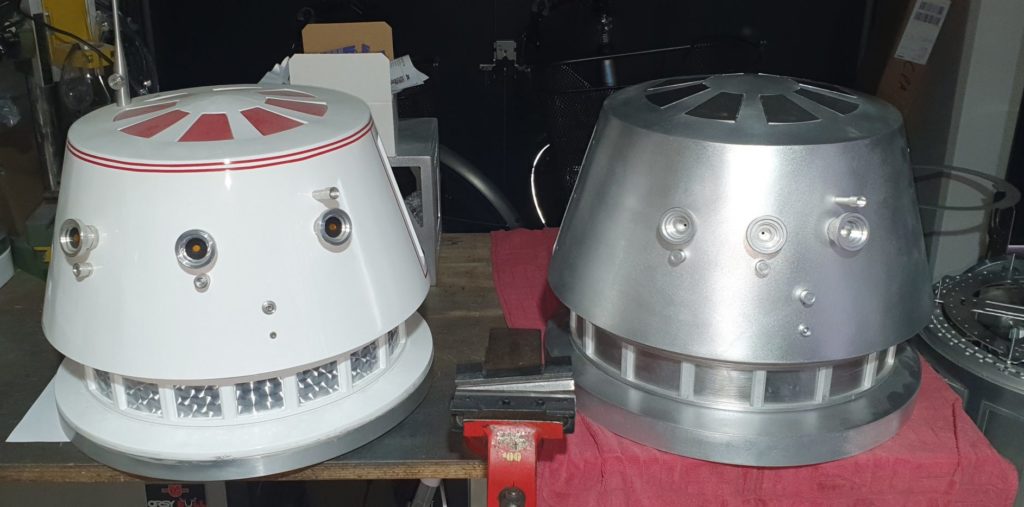
Congratulations, you have received one of the rare handmade R5 aluminum domes.
If not, you can put yourself on the waiting list here.
Manufacturing from rolled sheet metal parts that are assembled using a TIG welding process is not easy. Despite the highest standards, deviations in concentricity and dimensions can occur. However, the welds are made according to vehicle construction guidelines and are very stable. Even the small points on the inside can withstand a lot. So if there are dents or dings on the dome, these can easily be realigned with a suitable hammer.
The entire surface is already pre-treated for priming. However, for a perfect surface, treatment with a filler is recommended here too.
Unboxing
The Dome Set contains the following parts as standard:
- R5 Dome Unit
- 3x SideSlot (Breadpans)
- 16x Neck Struts
- 32x M3 Screws
- 4x Inner Panels

The hinges Set is optional
Dome Ring
In my design, the dome ring is already included in the head.

Please pay attention to the sharp-edged struts on the inside of the neck!
The dome is designed as a direct replacement part for most available domes. This should make it easy to swap an R2 dome for an R5 dome on the droid. The holes for the mount on the Lasysusan dome bearing are already there. Depending on the screws used on your droid, the hole can simply be drilled out.
The distance between the baseplate and the lower edge of the ring is 30 mm, as with most R2 Dome rings.
To get the typical R5 look, 25.4mm (1″) of aluminum should be left free when painting.

Removing Panels
To remove the panels, the narrow bars must be sawn off. I recommend using a small saw blade for this. To protect yourself from injury, the saw blade can be secured on one side with a shrink tube.


Side Slots
The side slots can be attached in different ways. Bonding works well with VHB tape or body adhesive. Epoxy glue is also a good option.
The most solid solution is the screwing with threaded pins, which I show here:


After the slots are attached, the protruding plates of the pins should be sanded down a little on the outside. Then the dome can later be easily prepared for painting with some automotive spray filler.
Inserting the aluminum greebles
The milled parts for the slots are available from Commando Eight Parts:
The Greeblie Set contains all other necessary parts for a complete R5 dome. For the struts of the slots, it may be necessary to adjust their overall length slightly. Here I made the slots longer so that nothing has to be sawed off. The missing length can easily be compensated with small washers. The R5 Dome Aluminum Bread Pan Set is an alternative to the supplied sheet metal parts and can also be optionally mounted. Here the milled parts are attached from the outside with screws.


Attach the CNC Neck Bars
The vertical struts for the neck are prepared individually. The M3 threads and the holes are drilled. However, I recommend sticking on any desired foil for the swivel effect before assembly.
Please check beforehand whether the holes of the neck ring are not blocked by a strut!
The neck ring is not welded, but only clamped in place. It is possible to simply turn the ring further with a little force! To turn the ring further, it is best to insert a suitable pin (screwdriver or similar) into one of the holes. The ring can then be pulled further with a little force.
If the ring on the outside does not fit neatly into the 6 mm ring, the position can also be optimized by applying light pressure.


The final assembly should only be done after painting. Please ensure that the paint layer is not too thick. Once the holes are clear, you can start installing the neck bars. To do this, stick the film on first. If the struts do not fit right away, please file the inner edge a little. The drill holes have enough space to position the struts neatly.


R5 Dome eye Position
I have written a separate article for the eyes. There are at least three different positions that are possible. For the selection, I have only drilled the middle holes. This way, everyone can decide for themselves which position is best for them.

Inner Panels and Hinges
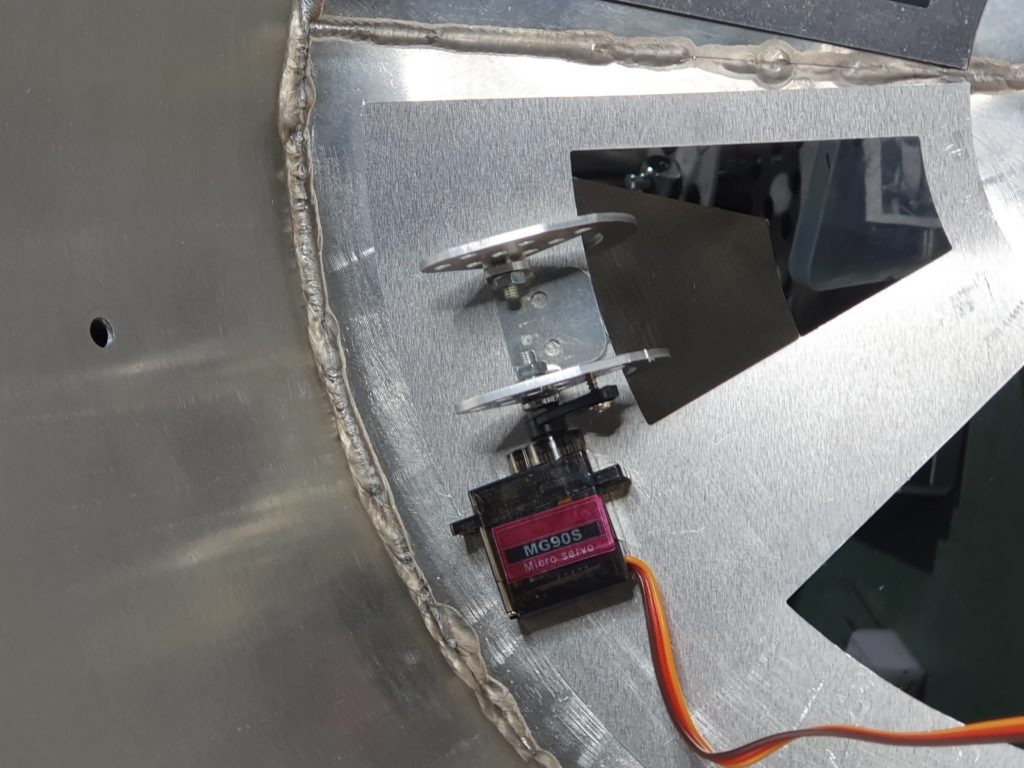
If you ordered a set with hinges, you can build the flaps with servos to open them. However, the standard set also contains the inner plates to hold the panels in position without any function. It is constructed like an R2 dome. The inner plates support the panels and prevent them from falling into the dome. There are four shaped sheets in the set that can be easily glued to the ceiling from the inside. For the solution with hinges, I recommend attaching the hinges to the inner plates with the screw pins before gluing them. Here I recommend VHB tape for testing and later finally gluing the panels with epoxy.
You can order the hinges set directly here or simply order the universal hinges via Astromech.net


You can find further information and a holder for the servo for printing in the relevant article.
R5 Dome Servo Hinges with direct Drive Clip


I will prepare and post further information. If you have any questions, just use the comment function. Have fun building your full aluminum R5 droid.

